Now that we have the goats, we are finding that they are really wasteful with their hay. We knew we needed to find a way to feed them that decreased the waste. We looked at several options online and discussed our needs.
We have found a plan for an outdoor one that is built into the fencing. In a few weeks, we will be building some more of the permanent fencing around the barnyard to replace the stock panels. So we will be building the outdoor manger for the sheep and goats at that time.
For the indoor racks we decided to try an idea that included supplies that we already owned most of. We spent $20 and were able to build one big and one small feeder. We figured since we already owned most of what we needed it would be the best thing to try first. If it didn’t work we could build a more expensive one and wouldn’t have lost much in the process.
***Be sure to read the changes section at the bottom of the post about the things we learned now that we have used them for awhile***
This idea was posted online by Michigansnowpony.
We bought two multi-purpose plastic mixing tubs. They only had one of the larger size, so we decided to try one big and one small. This is where the $20 came in. We owned the rest of the supplies.

We cut away a portion of the small end to be the top of the feeder where we will put the hay in.

Then we cut 2×4 welded wire to size to fit the tub and sanded the sharp edges off. ***See changes below***

We drilled holes in the edges of the tub and zip tied the wire on. In some places it worked best to do one hole and wrap the zip tie around, and in others it worked better to do two holes on each side of the wire.


Then we trimmed off the zip tie ends.

And they were complete! It was a really fast project.

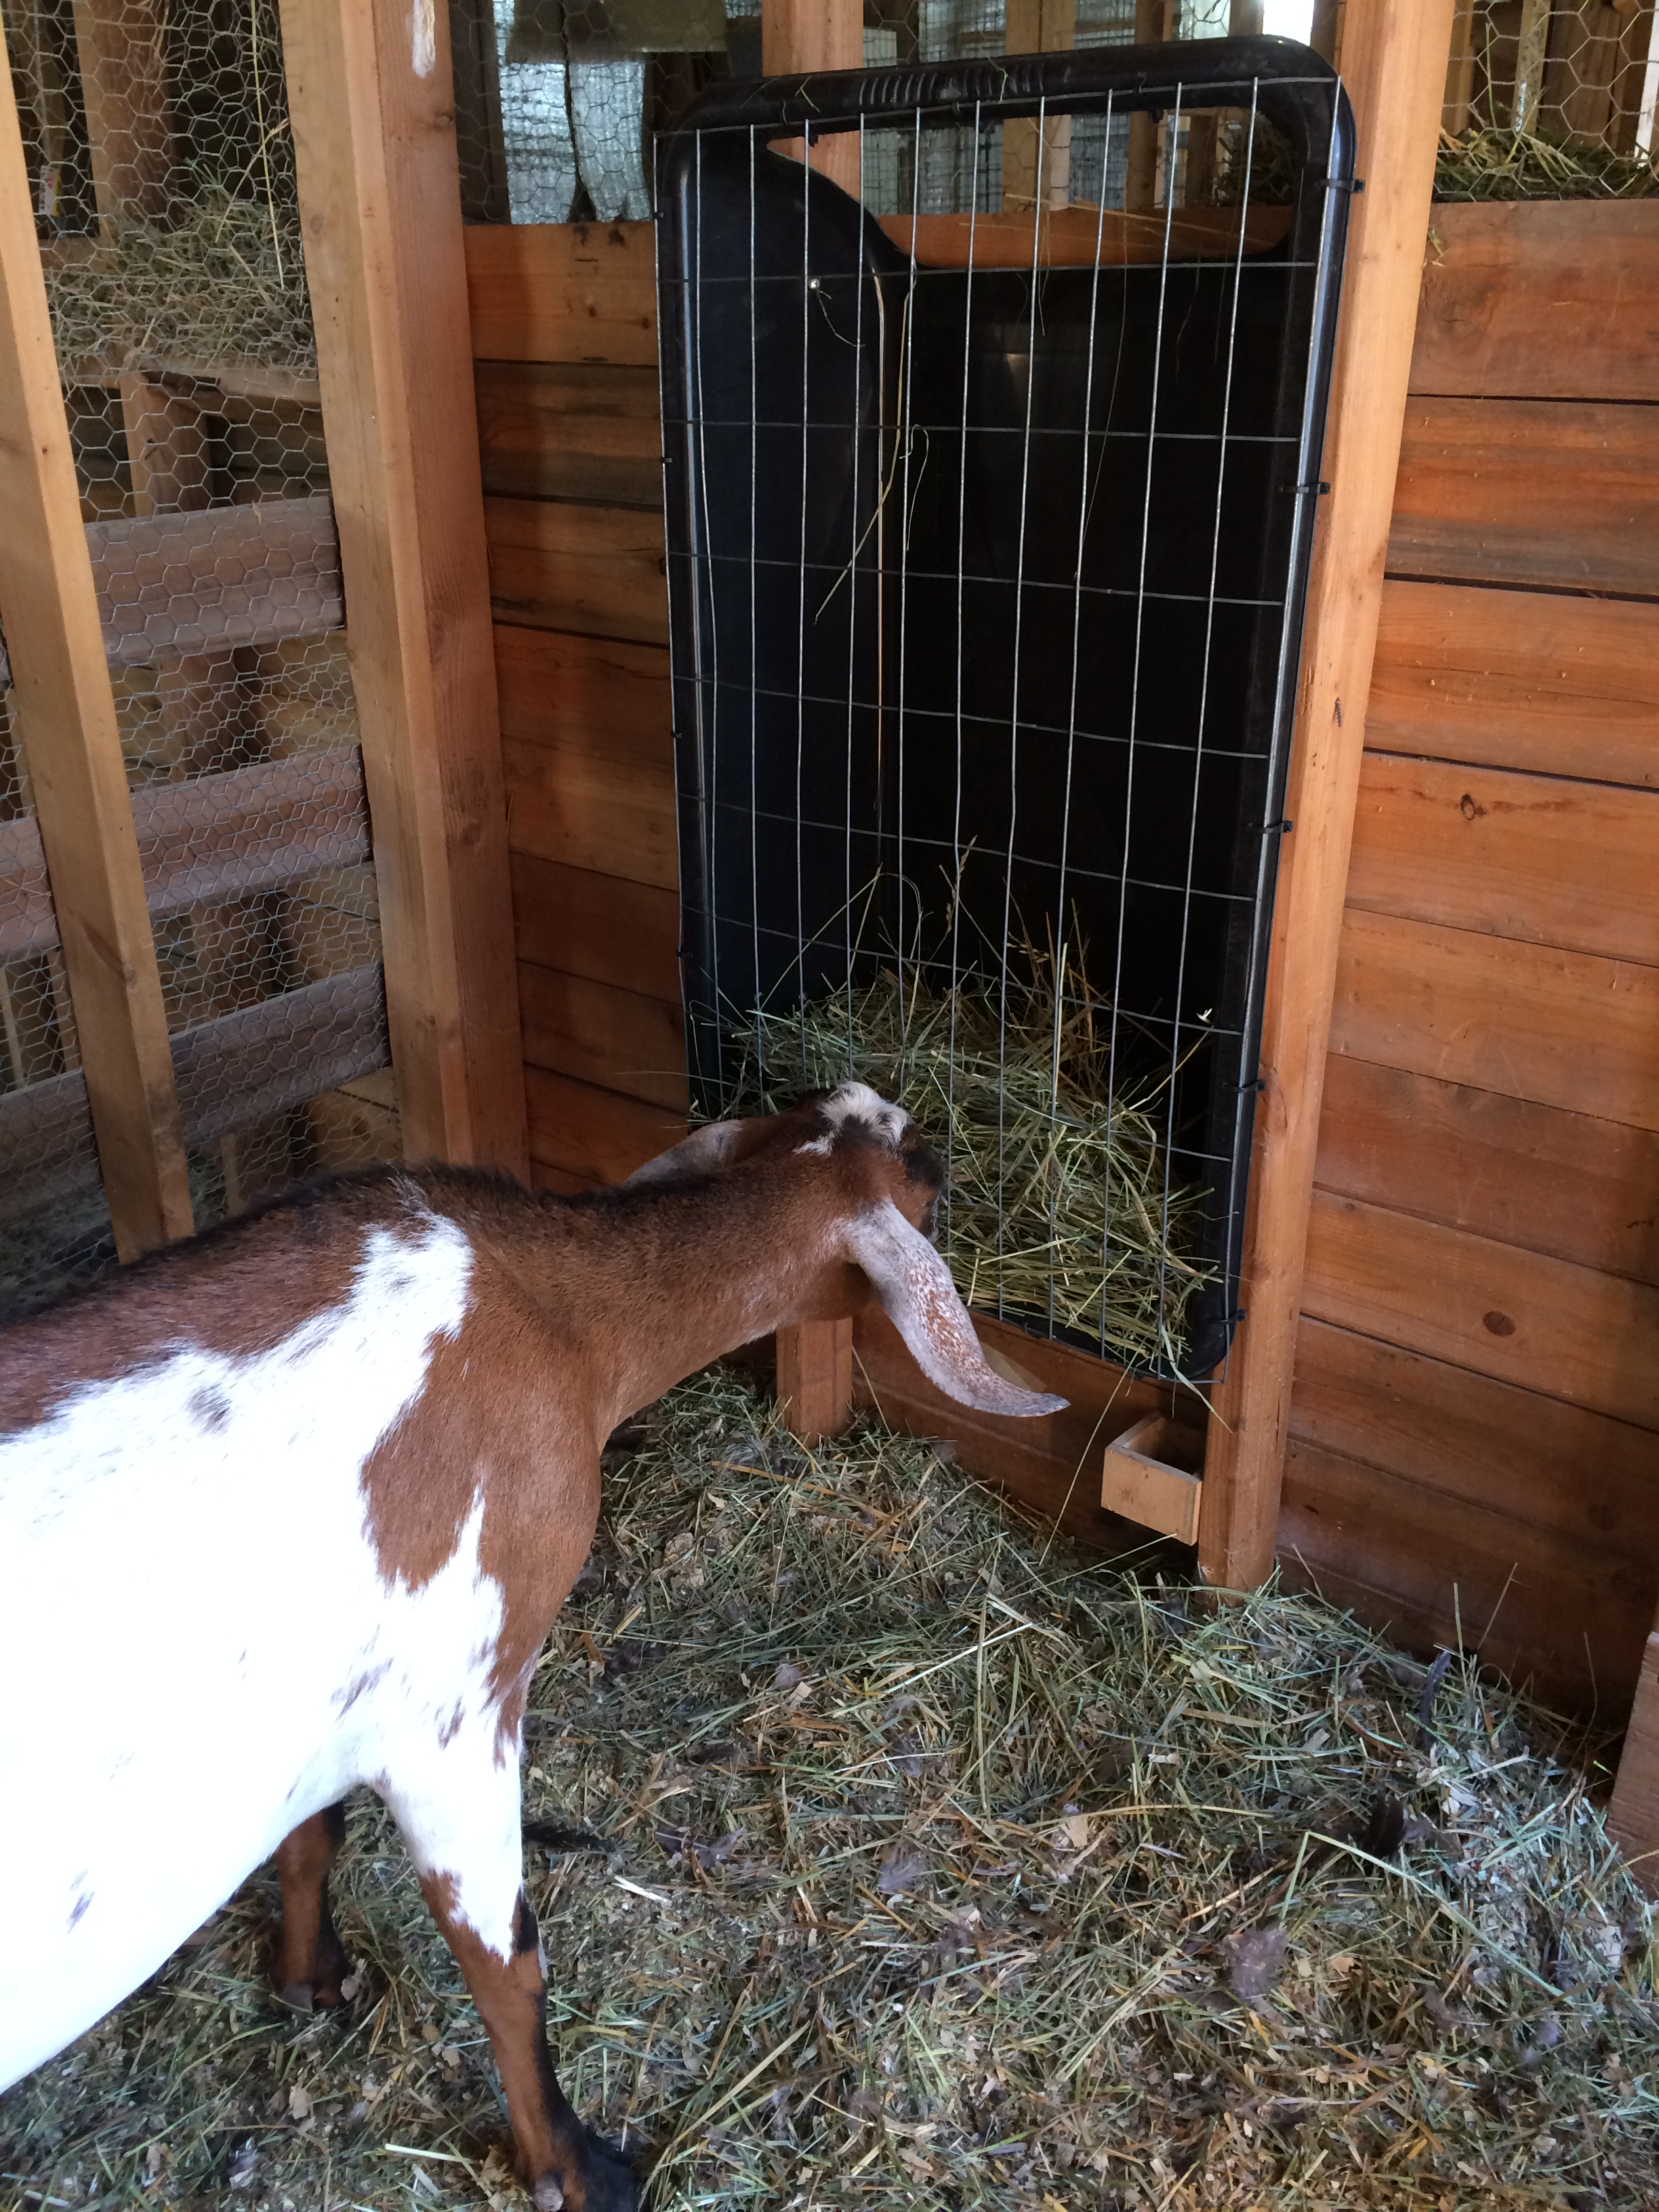
We drilled some holes in the back and used large headed screws to attach them to the walls in the stalls (you could use a washer too if you wanted – you just want to be sure they can’t be easily ripped off the wall).

We have been using them for a few weeks now and they are working great. They definitely cut back on the hay waste. The small one is too small to work very well for more than one goat or sheep’s worth of hay. The big one is great for 2-3 of our goats or sheep. We plan to make a few more so that we will have one in each of the two kidding/lambing stalls, two large ones in the big stall, and one large one in the small stall.
CHANGES: we plan to make a few changes when we make the new ones. The goats like to put their front feet up onto the wire front of the feeder to try to eat from the top. This is causing the whole thing to bend and even break. Also, the 2×4 spaces are causing rub wounds on the goats’ noses. So the new ones will use a thicker, stronger wire, that has 4×4 spaces.

 UPDATE:
The plastic on these kept breaking, even with the thicker gauge wire. The way they were hooked to the wall was just too exposed to wear and tear by the livestock and they last a few months but then break.
The ones we hooked to the OUTSIDE of the lambing jugs are working great though.


They are not getting the same wear and tear from the animals that one hooked on the wall in the stall gets.

Awesome idea, I think I might have to try this.
LikeLiked by 1 person
I just wanted to say “thank you” for the great idea. I built and installed 3 of them today with cement mixing tubs I found at Lowe’s. I mounted them on “our side” of the stalls. The goats seem to like them and I like the easy fill from the top.
Thanks again!
LikeLiked by 1 person
Great! I hope you like them as much as we like ours.
LikeLike
Pingback: 20 DIY Goat Hay Feeder Plans You Can Build - Epic Saw Guy
Pingback: 20 DIY Goat Hay Feeder Plans - DIY & Crafts
Pingback: 30 DIY Goat Hay Feeder Plans You Can Build - Handy Keen
Thanks !!! Great idea. I’m going to do that tomorrow
LikeLike
Pingback: 20 DIY Goat Hay Feeder Plans You Can Build Easily - DIYsCraftsy