Our Farm Dog

There is a member of our Farm Family that definitely doesn’t get the recognition he deserves.  The animals that are producing our meat, milk, and eggs are often on the forefront of farm discussions and blog posts.  However, in my opinion, our farm dog is the most important animal on the farm AND the hardest worker.

Tundra joined our family in the spring of 2005 as an adorable puppy.  His owners had him in a box outside of a grocery store and he was the last puppy left from the litter.  We immediately fell in love with him and took him home with us.

100_0423

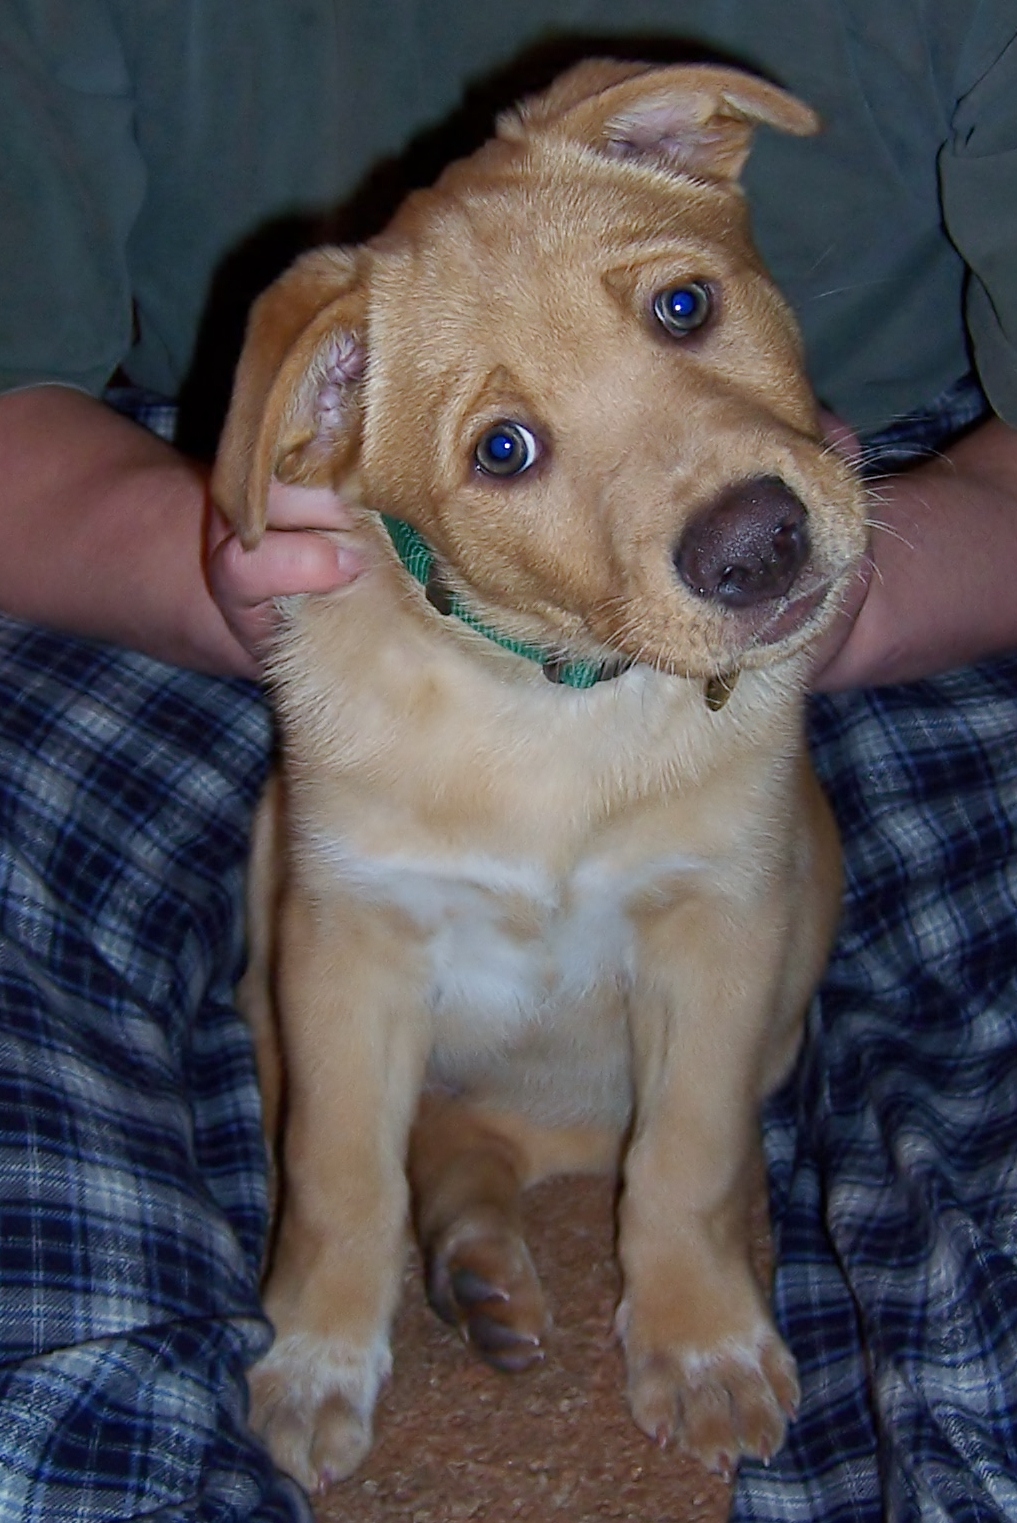
Tundra – 8 weeks old

We call him our “Heinz 57” dog because he is a mixed breed.  We were told he had Chow and Boarder Collie in him.

When we first got him we didn’t have a farm and he became my husband’s work buddy.  My husband is in construction and would take him to work at the different job sites.  He has always been excellent with the kids, from newborns all the way through to our current oldest, who is almost 10.  He is also great with other dogs and cats.

One strange thing about him, that we had never encountered before in a dog, was that he has never really liked being inside.  He would check out the house for a few minutes, maybe lay down for a little bit, and then desperately want back out.  So he has spent most of his life outside, unless it was bad weather.

When we moved to the new farm the barn and cow pen became his domain.  He is an awesome alarm dog and VERY protective of the livestock.  We know that if he is barking there is something up and we can trust him to protect the livestock and do all he can to tell us there is something going on.

102_8354

Tundra 2012 – 8 years old

He has treed a bear that was trying to break into the chicken pen; chased off numerous bears, coyotes, and foxes; warning barked when there was a mountain lion on the property, chased off a few bobcats, killed several pack rats over the years that were wanting our eggs and baby rabbits, and even saved two baby rabbits’ lives on two separate occasions (no kidding!).  He was also ganged up on and attacked by 3 coyotes once (there was another dog with him so it was 3 on 2).  Luckily, my husband was there within a few seconds and was able to scare the coyotes off of the dogs before there was too much damage done.

What is so amazing to me is that this dog would kill a wild rabbit or a wild bird, but he seems to know that the livestock animals are important to us and he therefore will protect a baby rabbit, adult rabbit, chick, or chicken and not kill them.  It isn’t something I believe you can really train into a dog as much as it is just in their nature to care about what they know you care about.  And he definitely has that very special characteristic in him.

I know I don’t have to worry with Tundra on the job out at the barn.  I know he will let us know, day or night, if there is trouble and he will do his best to protect our livestock and property.  He is also very protective of the kids and I know they are safe with him outside with them.  He is amazing and is a priceless addition to the farm.  I don’t know what we would do without him.

The Rooster

Last fall, when we adopted our hens, we were told that the youngest two were born that year and were about 5 months old.  She said they had started laying.  When we got them home we started to realize that that information was definitely not accurate.

First of all, we were not getting any small eggs (although we thought maybe the stress of the move had caused them to stop laying).  Secondly, our friends had pullets who had just started laying and we noticed that their pullets were WAY bigger than ours.  Hmmmmm.  It started to occur to us that maybe these chicks were much younger than previously thought.  From what we gathered they were more like 2-3 months old.

As we continued on with our adventure with these new hens we heard and interesting sound coming from the coop one morning on the way to milk the cow.  Could that have been a sad attempt at crowing!?  Sure enough, as the days went on, it because clear that one of our young hens was actually a young rooster.

We didn’t really know what to do.  We hadn’t planned on having a rooster.  We knew roosters could torment the hens and cause them stress.  Obviously there was the noise factor.  And we knew that roosters could get aggressive and we didn’t want to worry about the children around the chickens.  We decided that he could stay as long as he didn’t become aggressive and his crowing didn’t cause neighbor problems.  We also decided to increase our handling of him while he was small so that he would hopefully be more tame and not get aggressive.

102_9329

Pepper, our rooster.

It’s been about 4 months since then and he is still here.  He is very nice with all of us humans, his crow hasn’t caused stress with the neighbors (we’ve actually had an opportunity to talk to each of them about it and they LIKE hearing it – yippeee!) and we are very happy to have him as a member of the chicken family.  We are hoping to eventually have one of our hens go broody and then we will have fertilized eggs from this guy and we can raise some chicks.

The Newest Adventure at Willow Creek Farm!

As I said before, we have started a new adventure this week and I want to share it with you.  So here it is:

27 cute fuzzball baby chicks!!!

27 cute fuzzball baby chicks!!!

When we originally started the farm last summer we decided we would just have enough hens to provide eggs for our own family.  We had sold eggs before and decided that was not really the direction we wanted to go this time.  So my husband built our coop to fit 6-7 hens, we adopted the ragamuffin hens from someone in a nearby town, and we were on our way.

This fall, over about a week’s time, we had 8 different people request to buy fresh eggs from us on a regular basis.  They each wanted 12+ every week.  We do not live in a very agricultural area, and most of them were buying fresh eggs that were about an hour drive away.  They want to buy them locally.  After thinking about it and discussing it a bit we decided that since we already had a customer base ready and waiting, we should go ahead and expand the flock and sell eggs.

The first question once we decided to go ahead was, what do we do about a coop?  We went back and forth about it.  Sell the one we have and build a new one in that spot?  Build an addition to expand the one we have?  Build a new, bigger one somewhere else?

The fact is that I LOVE the coop we currently have – it is so cute and just what I wanted.  Secondly, I LOVE looking out the window in my sewing room at my hens in the backyard.  And lastly, the space where the coop is now really isn’t big enough for the size we are needed for the new flock.  So that all led to the decision to keep the small coop as-is and put our “favorite” 6 hens in there; the friendlier ones that are more like pets and less like livestock.  Then the rest will live in a large coop my husband is building attached to the barn.  They will have access to the barnyard for free-ranging safely and will also be able to work on our compost pile for us.

So we ordered 25 chicks from Meyer Hatchery.  They have a rainbow egg pullet assortment that was just up my alley.  I really like variety in my flock and I enjoy different colored eggs too.  This assortment can include any hens from the brown egg layers, white egg layers, green/blue/tinted egg layers, and rare breeds.  And they guarantee at least 5 different breeds.

The chicks arrived at the post office last Wednesday and we were very excited to get them home and start solving the mystery of what breeds we got.  We poured over chick pictures in catalogs and online.  I have a pretty good guess at this point, but we wont know for sure until they are mature of course.

I am guessing these are: Rhode Island Reds left, right, and back center.  Barred Plymouth Rocks center front and left back.  And an Ancona in the center right.

I am guessing these are: Rhode Island Reds left, right, and back center. Barred Plymouth Rocks center front and left back. And an Ancona in the center right.

I'm guessing these are: Easter Egger back left, White Leghorns or Buff Orps in the center, Black Australorp front right.

I’m guessing these are: Easter Egger back left, White Leghorns or Buff Orps in the center, Black Australorp front right.

Here’s the final tally of what I am guessing we have: 7 Rhode Island Reds, 4 Black Australorps, 8 Barred Rocks (which might also include some Dominiques and/or Cuckoo Marans), 3 White Leghorns or Buff Orps, 3 Easter Eggers, 1 Ancona, and 1 Partridge Plymouth Rock (I am really hopeful on this one as I love the partridge feathers).

They are a week old and are doing great.  We still have all 27 of them, which is great since I know it is common to lose one or two in the first week.

I welcome any guesses from all you who are experienced with chicken breeds and might know what I have.  What do the chicks in these pics look like to you?

Homemade Mozzarella Cheese

With all the fresh milk we have now I have been learning how to make many different milk products.  One of our favorites has been mozzarella cheese.  Here’s how we make it:

Put 2 gallons of whole raw milk in a large pot over med-low heat.  Add 4 teaspoons of citric acid powder, stir until fully dissolved.

102_9267

This is the type I use. I bought it from New England Cheesemaking Supply Company

102_9269

Adding the citric acid powder.

Keep over the med-low heat until the temperature reaches 88 degrees farenheit.

While you are waiting for the milk to reach 88 degrees, put 1/2 cup distilled water in the refrigerator to cool.  Once your milk gets close to the 88 degrees, put 1/2 teaspoon rennet into your 1/2 cup of chilled water from the refrigerator.

102_9277

1/2 cup chilled distilled water with 1/2 teaspoon of liquid rennet in it.

Once the milk reaches 88 degrees, pour in the rennet/water mixture, stirring constantly as you do.  Keep stirring constantly until the milk reaches 104-106 degrees.  The milk will go through several changes and stages as you stir and wait for the temperature to rise.

102_9283

First it will look like this, with tiny chunks separating.

102_9288

Then it will begin to get bigger and bigger chunks.

 Once it reaches 104, remove it from the heat, cover it, and let it sit for 15 minutes.

After it has rested, us a slotted spoon to remove the curds and put them into a microwave-safe glass dish.

102_9290Gently press the curds with the spoon and pour off the excess whey that comes out.

Then, put your dish into the microwave for 1 minute on normal heat.  It will come out looking like it is starting to melt together, like this:

102_9292Press it gently again and remove the excess whey.  Then, with gloved hands, add 1-2 tsp salt and knead it into the cheese.

Next, put it back into the microwave for another minute.  While it is in there set up plastic wrap to wrap your finished cheese.  It will come out of the microwave looking more melted.  Press and pour off any more whey.  At this point you must work somewhat quickly as it gets harder to work with the more it cools.

102_9296

This isn’t the clearest picture, and you can’t see the shine it gets, but you can see how it is smooth.

With gloved hands I knead it a bit until it starts to get a shine almost like taffy.  Then, for our families preferences, I split it into two.  One of the halves I make into a ball of cheese, which has multiple uses.  I put it on the plastic wrap and quickly wrap it up to hold the shape and seal it.

102_9297I take the other half and split it into 4-6 pieces, which I stretch into about 12 inch long ropes and roll in plastic wrap.  These become string cheese sticks for the kids.  I forgot to get a picture of them – sorry.  They are not smooth and perfect like store-bought ones, but they do string and the kids love them.

I leave all the cheese wrapped (sealed tight) on the counter to cool before I move it into the refrigerator.  It is also delicious to eat it while it is still warm.  When the string cheese is cooled on the counter, I cut it into our preferred lengths and then put it into a zip-loc bag in the refrigerator.

My personal favorite way to eat mozzarella, and one of our favorite appetizers we use for get-togethers is:

Cut mozz into 1/2 inch cubes.  Take a toothpick and slide the cube of cheese onto it, then add a small piece of fresh basil, and then a cherry tomato.  You can eat as-is or drizzle balsamic vinaigrette over it.  YUM!

Finished Chicken Coop

I never posted the final pics of the finished chicken coop!  Well, I’m getting to it now, and seeing the coop in the warm summer sun makes me feel happy since it doesn’t look like these pics out there right now.

We got the idea for our coop from a photo on the backyard chickens website, it was called “Wichita Cabin Coop” on that site.  We made a few changes, but mostly followed it.  102_8726

In this photo of the interior you can see the two nest boxes are to the right side and are exterior boxes.  There are two roosts across the back.  To the left back (hidden by the waterer in this photo) is the door out to the pen.  It slides up via a rope that goes all the way outside so we can pull the door up and down easily from the outside.  This is before the coop was insulated.

102_8712

This is the west side – the pen side.  You can see where the little sliding chicken door is into the pen, with the ramp down.  The whole thing is covered and stays pretty darn dry as long as the wind isn’t blowing the rain and snow around.

102_8861

This is the south side of the coop.  You can see there is a man-door into the pen for cleaning and accessing the pen.  There is the big door into the coop for cleaning and doing the feed and water.  In between the two doors you can see the rope we use to lift and lower the small chicken door from the coop to the pen.  And on the right are the nest boxes.

102_8862

This is the East side of the coop.  You can see the nest boxes that are easily accessible from the outside.  You can also see the power outlet box my husband installed to make it easy to light the inside and have a heat lamp in there as well.  We have a light inside that is on a timer to give the chickens a 14-hour day.  There is also a heat lamp that is on a thermostat so that it doesn’t allow it to get below 40 degrees inside (although in the very cold weather we have found this to not be true as the water has been freezing).  Very convenient!  Eventually we will be installing a window on this side to give them natural lighting.  It will go right where my signs are.

102_8863

The last coop we built had exterior nest boxes like these as well.  However, the last one had a roof lid that lifted upward to access the boxes and we found it was heavy, awkward, and inconvenient.  Since we really wanted the kids to be able to participate in the egg collecting we made this nest box open up on the side.  My 4-year-old can easily open and close it and reach the eggs.

102_8865

The safety features that we have included to help protect from predators are that every door latch has an additional clip that can’t be unhooked by raccoons.  We have heard of raccoons in our area opening up simple latches on coops and getting in.  Also, the entire pen has chicken wire that runs out about a foot under the dirt all the way around, with additional rocks on it, to prevent any digging into the pen by foxes, coyotes, weasels, rats, etc.  It is also as secure as we can get it from bears, though in our area the bears are very adept at breaking and entering and I’m not sure there is such thing as a totally bear-proof coop.  However, when our friend’s coop was broken into by a bear he was busily eating the chicken feed, not the chickens or eggs, when they found him.  Which I thought was interesting.

Lastly, just for fun and artistic reasons, I found some old wood shingles in a scrap pile on the property and decided to make signs for the coop with the chickens’ names on them.  I love the old-fashioned farm feel of it.

102_8740

So far it has been an excellent coop and we are really happy with the design.